Saturday, December 3, 2011

Chocolate Truffles

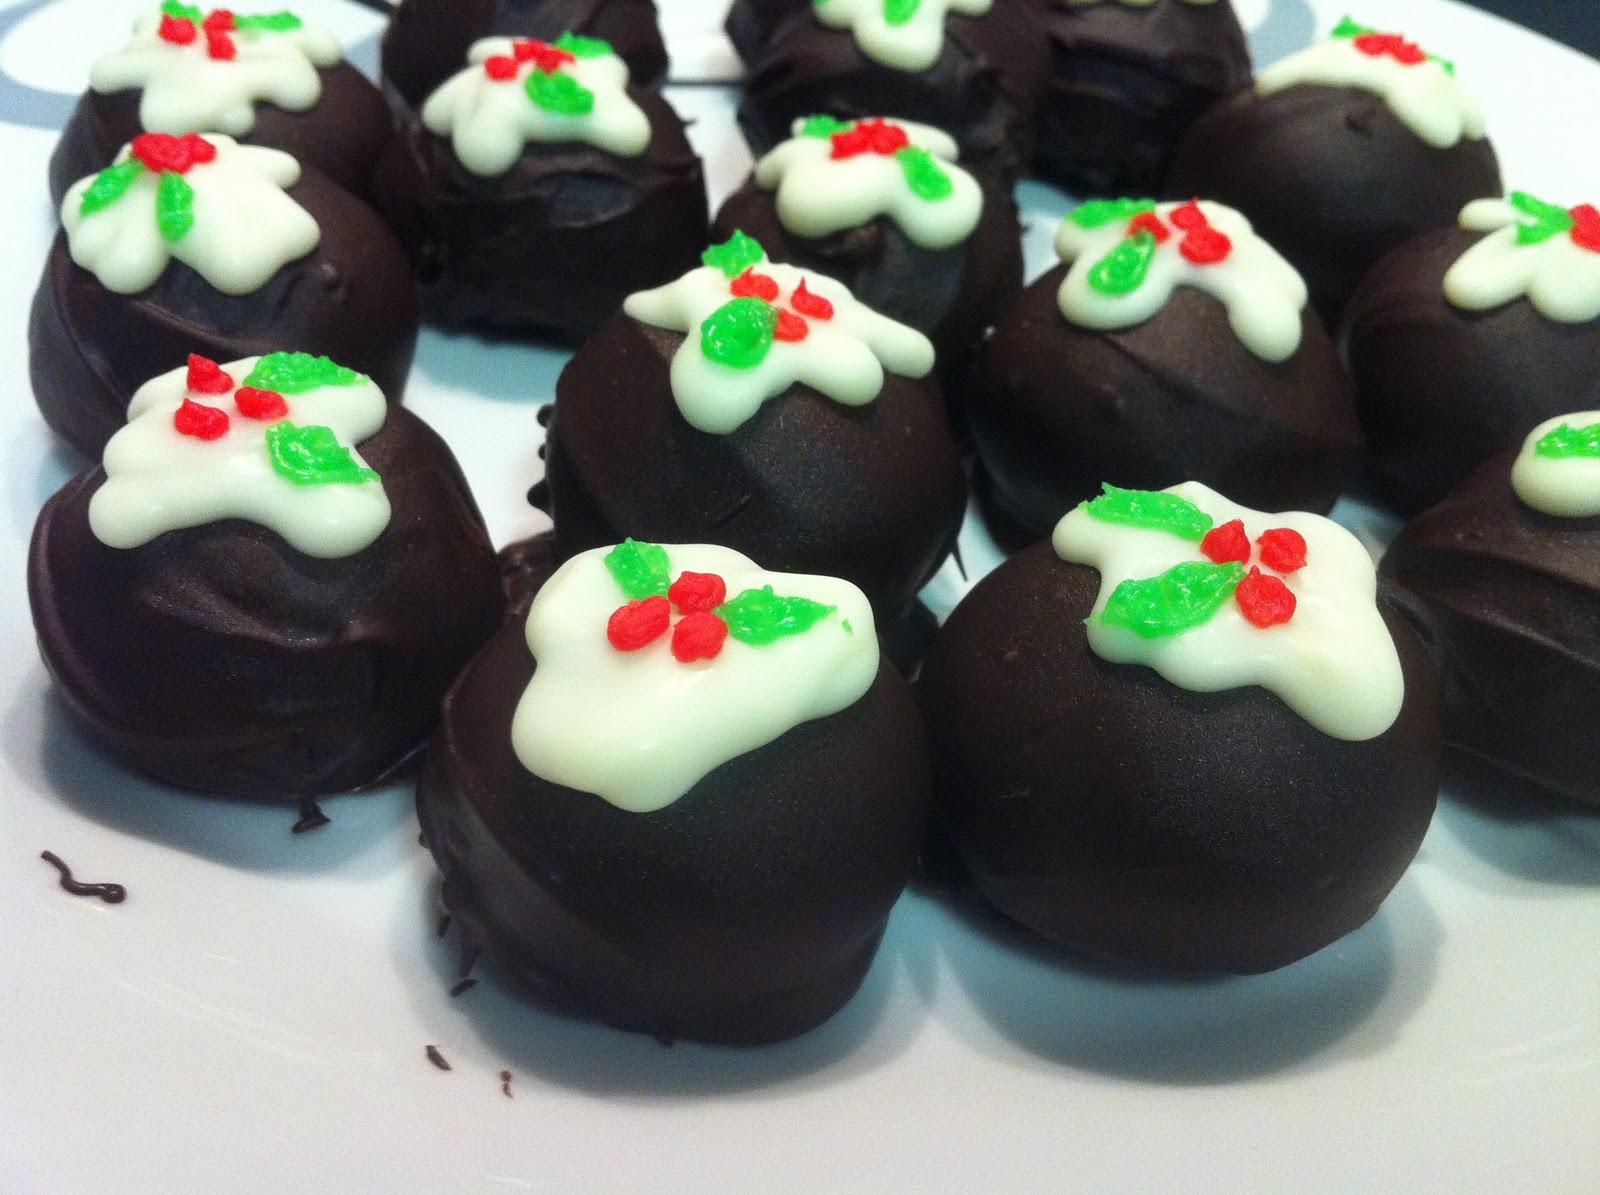
Super simple, super delicious chocolate truffles!!
Every year that I make these I get request after request for more batches!
This year I decided to get a little bit creative with the truffle recipe and made a white vanilla version as well!!
And here's both recipes!


1 Can Condensed Milk
1 Packet Milk Arrowroot Biscuits (crushed)
1/2 Cup Dessicated Coconut (approx)
2 Tbsp Cocoa (substitute this for Full Cream Milk Powder & tsp vanilla essence for vanilla truffles)


Dark Chocolate Melts
White Chocolate Melts
Copha/Vegetable Oil (small amount)
Red & Green Icing


Combine all ingredients together (you may need to add more coconut - I think it depends on the weather?!).
Scoop out 1 tablespoon of mix and roll into balls. Set on baking paper in the fridge to firm - approx half an hour, again, depending on how hot/humid it is where you live.


Melt dark chocolate with a small amount of vegetable oil/shortening for a smooth and slightly runnier consistency. Drop balls into chocolate to coat, allow to drain (I use a fork for this part) and set back on baking paper and back into the fridge until set.
When set, melt white chocolate (without shortening) - using a piping bag or ziplock bag, pipe white chocolate to resemble dolloped custard. Allow to set.
Lastly, when chocolate is set, use red and green icing to garnish with holly. I used Wilton pre-made icing tubes, which are fantastic for small details and the Wilton tips fit straight onto the tube, so very limited waste/mess!
You could also used chopped glacĂ© cherries, small candies or whatever you like for the tops as well - I just had icing on hand.


Enjoy...
(Note, I halved the batch - it made 19 balls, mind you, I had a nap between the dark and white chocolate and came back to this many left.... Steve had gotten to them!!)



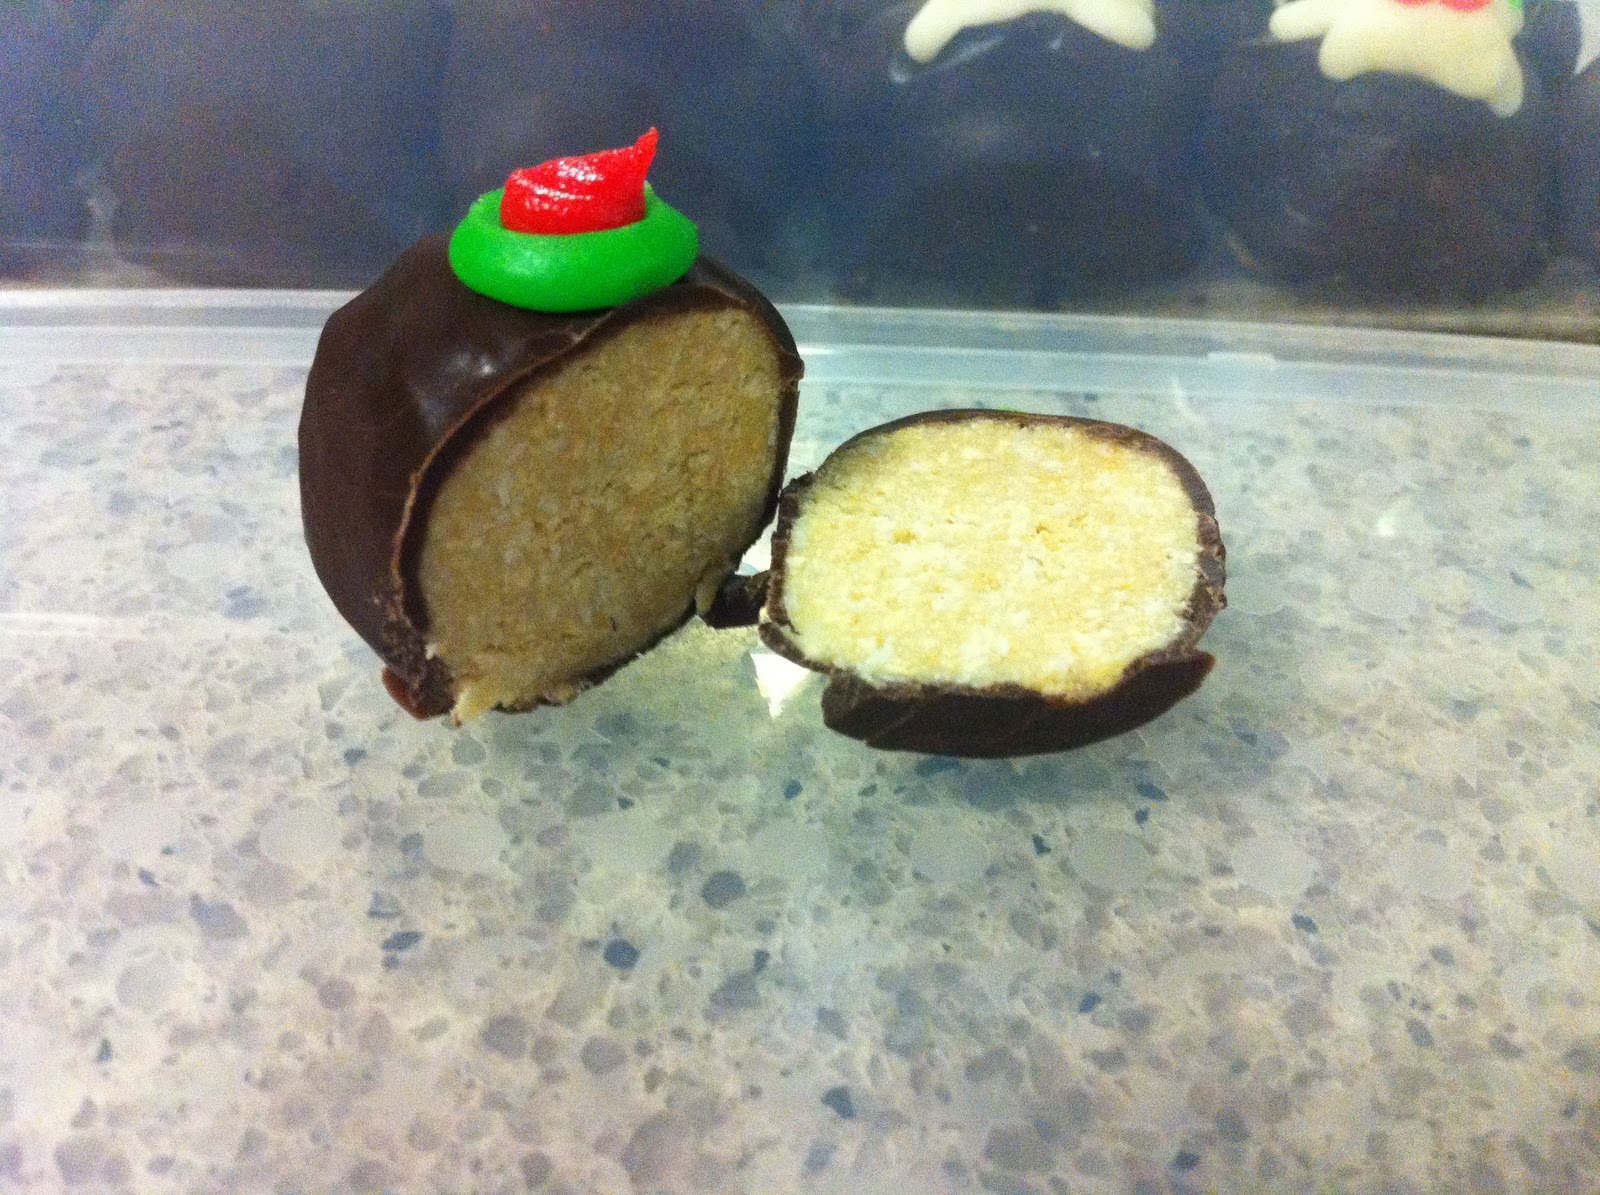
Chocolate Truffle
Vanilla Truffle


Saturday, November 26, 2011

It's that time again.... Melted Snowman Cookies

Time for me to start getting all excited over Christmas!!
So far I have made my own bauble wreath (I'll pop up a pic just for the sake of showing it off).
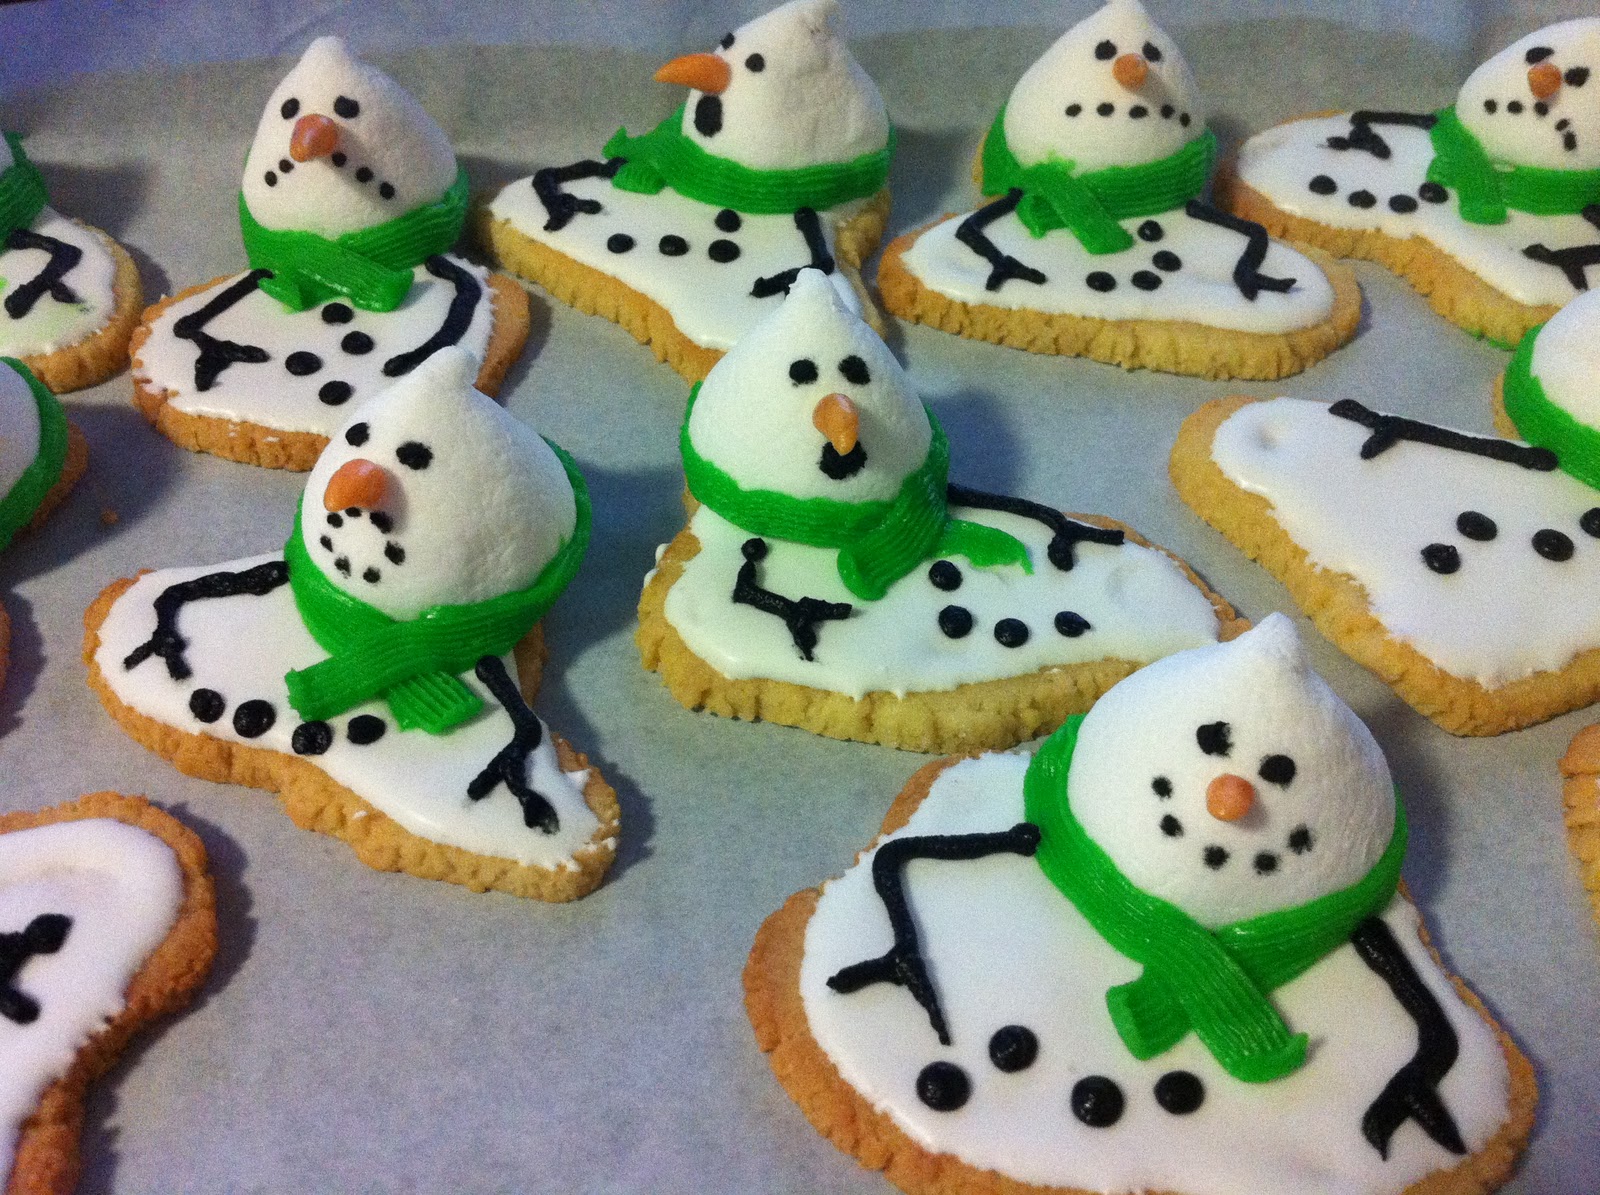
Also my first Christmas cooking creations - Melted Snowman Sugar Cookies.
These were an idea taken from Yoyomax12 (youtube)... 
They are done with marshmallows, starburst candies (carrot nose), royal icing and Wilton pre-made icing tubes - pretty simple stuff and they really come to life when you put their arms etc on!


I have put the recipe at the end because I have been asked a few times about it - I take no credit for it though! It's not at all my own recipe.


Cookies:
4 cups all purpose flour
1 tsp baking powder
1/2 tsp salt
1 cup butter softened
2 cups sugar
2 large eggs
2 tsp vanilla extract 

1. stir together flour, baking powder and salt together, set aside
2. Cream together sugar and butter, add eggs and vanilla and mix until fluffy.
Gradually add flour mixture a little at a time. Divide the dough in half, flatten each half into a disk. Wrap in plastic and refrigerate until firm, at least one hour.
3. Heat oven to 350F. Roll out dough between two sheets of parchment or waxed paper and cut out into shapes or pinch off portion of dough and form into desired shape (about 1/4" thick)
Bake until edges are golden brown about 10-15 minutes depending on your cookie sheet


and my bauble wreath...


Wednesday, November 16, 2011

Spooky Cupcakes!

So here are some pretty awesome cupcakes I made for work for Halloween.
Everything on them I made.
And here's the decorating directions.
You will need:
Starburst Candies
Milk Arrowroot Biscuits
Black Icing (I used Wilton Writing Gel)
Green Buttercream Icing
Grey Icing (with a small amount of darker grey set aside)
Toothpicks
Red Gel Food Colouring (Wilton - for the blood)
Oreo cookies (crushed)

Make light grey icing to a thin slightly runny consistancy.
Dip 3/4 of each biscuit into grey set aside, take a toothpick, dip into darker grey icing and swirl through iced biscuit to create stone look. Leave aside to set. Write on "gravestones" when icing is set.

Take 1 pink Starburst, warm in the microwave for approx 5-10 seconds until pliable. Shape into arm/hand - insert toothpick into arm, set aside to firm. Paint on spots of red gel for blood.

Take 2 orange Starburst, warm, roll together and shape into pumpkin, using toothpick to mark segments - top with small amount of green icing for stalk.

Using a grass tip, top cupcakes with green icing. Insert un-iced end of biscuit into cupcake, sprinkle cookie crumbs in front of biscuit and insert hands or pumpkins.


Friday, November 11, 2011

Mini Lasagne Cups

I made these when I was almost out of things in the cupboard - but they were delish!

You will need:
Fresh or dried lasagne sheets (I used dried and soaked them in hot water to make them pliable)

For the meat sauce - see my throw together bolognese recipe - or simply use a store bought one.
For the bechamel sauce you will need;
3 tbps butter
1/3 c plain flour
3 c milk
1 small clove garlic

Really simple, melt butter over medium - high heat, when foamy add flour and whisk to combine, add garlic, cook until bubbling and remove from the heat. Add milk in batches - stirring until smooth, return to heat and cook until thickened to desired consistency.

Grease cupcake/muffin pan, take lasagne sheets and use a cookie cutter to cut into round layers. 
Layer lasagne sheets, meat sauce and bechamel sauce in muffin tin, repeat until full (3 layers for me) and then top with bechamel sauce and cheese - bake in oven for approx 30 minutes at 180c.

Remove and let sit in the pan for 3-5 minutes. 
Remove with spoon and serve hot.


Sunday, September 25, 2011

Cinnamon Tea Bun

I definitely recommend this!
Especially if you want to dazzle people with your 'from scratch' baking skills!


1 sachet Tandaco Dry Yeast
3.5 cups plain flour
1 tsp salt
1/4 cup sugar
1/2 tsp cinnamon
1/4 tsp mixed spice
1 cup warm milk
1 tbsp melted butter
1 egg, lightly beaten


1 egg
1 tbsp milk


Icing:
60g butter
1 cup sifted icing sugar
1 tbsp milk
pink food colouring


- Mix dry ingredients in a large bowl. Add milk, butter and egg. Mix well to form a soft dough. Knead for 10 minutes until smooth and elastic.
- Place dough in a greased bowl. Cover. Leave in a warm place to rise until doubled in volume (approx 1 hour).
- Knock down dough (punch once in the centre - fun!) then knead for 1 minute.
- Shape into an oval tea bun (I made 2 rounds). Place on a greased baking tray. Brush top of bun/s with water. Leave in a warm place until doubled in size (approx 45 min).
- Brush bun/s with egg/milk wash. Bake at 200C for approx 20-25 minutes. Cool on wire rack and ice when cool.


Icing:
Beat butter until light and fluffy, add icing sugar gradually as beating, beat in milk - add food dye (I used Wilton Gel Paste).


The package says to ice and sprinkle with pecans and cinnamon. But what I did was drop a little icing on while hot to make a glaze, sprinkled with cinnamon, then when cooled - iced and sprinkled with coconut!


And here's the deliciously finished product....


No Knead Cheddar Cheese Bread

Ok so the recipe makes 2 loaves, I only have 1 bread mold (and even then there was too much! so I made some extra rolls with the leftovers).

So here are the measurements I used....

1 package active dry yeast
6 tblsp warm water
1.5 cups shredded cheddar cheese
6 tblsp shredded Parmesan cheesea
1 cup milk
1.5 tbsp sugar
.5 tbsp butter melted
1 tsp salt
3 to 3.25 cups all plain flour
1 egg white beaten
1 tbsp water

Topping:
1/4 cup finely shredded cheddar cheese
1 garlic clove minced
1/4 tsp sesame seeds
1/4 tsp poppy seeds
1/4 tsp paprika
-In large bowl dissolve yeast in water, add the cheeses, milk, sugar, butter, salt and 3 cups of flour. Beat by hand or mixer about 3 minutes. Stir in enough remaining flour to make a firm dough.
-Do not knead, cover and let rise in warm place until doubled, about 1-2 hours
-Stir dough down, transfer to greased loaf pan. Cover and let rise until doubled about 30 minutes.
-In small bowl combine egg white and water. In another bowl combine topping ingredients. Brush loaf with egg white/water mixture, sprinkle with topping, bake at 190C for 25-30 minutes or until golden brown. Remove from pans and place on wire rack to cool.


Ok - I'm totally guilty, I cut into it while it was warm (not hot), I couldn't wait, it smelled amazing!
The original recipe calls for celery seed in the topping, I could only find celery salt and when I opened it and sniffed it - wow, no way way I putting it on! I did up the topping ingredients too, I'm a big fan of paprika and seeds! 

And here's a link to the original video;


Updatey!!

Ok, so it's been quite a few months since I posted anything - apologies to the few who actually read this!!
Work has been poo-house! Hence bringing me into a funk where I didn't even want to bake/cook!!
Anyway, thanks to 3 weeks leave (which I'm still on) I got up the desire to bake again!


So I spotted a 'no knead' cheese bread on one of my favourite YouTube channels (YoYoMax12 - check her out, she's incredible!) - I was so intrigued, but I've never used yeast before - so cautious as well!


Soooo, bought the ingredients - baked the bread! Soooo good (will be putting the recipe up!) and I found a little beauty on the back of the Tandaco Yeast box for a cinnamon tea bun! This is amazing! Steve even liked it (he wasn't keen on the cheese bread cos it was 'greasy' from the melted cheese - coming from a man who puts marmite and cheese on bread and shoves it in the microwave until it's soggy?! The bread was delicious! Ignore his opinion!).


So a few things I learned about yeast...
It's not as scary as I thought it would be!
I now know where the fresh bread gets that smell!
It takes a bloody long time to prep anything with yeast (yet very little cooking time it would seem?!) 
And, kneading dough is very therapeutic!


I hope you enjoy the recipes! 
I'll link to the YouTube video I got the bread from, because I didn't take a picture!